

By Blog2Social you can Auto-Post from WordPress to All Your Favorite Social Networks
Product Name:
Blog2Social WP | PRO | annual payment
Blog2Social WP | BUSINESS | annual payment
Blog2Social WP | SMART | annual payment
Blog2Social APP | PREMIUM | TEAM | CUSTOM 1 | monthly payment
Why You Should Consider Auto-Posting Your Content to Social Networks
If you follow any brands or business on social media, chances are you’ve already come across auto-posted content without even knowing it. After all, the greater the number of platforms you publish to, the more difficult it becomes to handle all that content manually.
However, there’s more to this feature than just saving you from performing a repetitive task. It can:
- Increase your efficiency. Posting your content to social media isn’t difficult, but it can be time-consuming. As your editorial calendar grows, so will the time you’ll need to spend manually publishing content to other platforms.
- Grow your audience. As long as your content is engaging, publishing on social media may enable you to tap into a wider audience.
- Increase visitor engagement. Social media is one of the best channels to engage with your users, and with the increase in published content comes more opportunities to establish conversations with your audience.
It goes without saying that you’ll also need to work hard and produce outstanding content if you want to enjoy the perks of auto-posting. However, that’s a topic for another article. In this case, we’re going to focus on how to use the Blog2Social plugin to auto-post your WordPress content to social media.
An Introduction to Blog2Social
Blog2Social is one of the most comprehensive auto-posting solutions for WordPress. Not only does it enable you to share your content to most major social media platforms, it also lets you schedule posts for specific time windows.
What’s more, you can include explicit labels and remarks for each system, which is constantly convenient. The module additionally empowers you to modify which pictures will show up close by your mutual substance, and even lets you re-share more established presents in the event that you need on exhibit a past ‘hit’, or fill holes in your schedule. In addition, there are no similarity issues with Divi, so you’ll be capable to implement it on your own site without stress.
Finally, Blog2Social supports a number of platforms out of the box – there are perennial networks such as Facebook and Twitter, along with outliers such as XING, Torial, and Diigo, among many others.
Key Features:
- Auto-post your content to most major social media platforms.
- Customize your posts before sharing them on social media.
- Select which images will accompany your content.
- Schedule your auto-posts for specific windows of time.
- Re-share old content periodically.
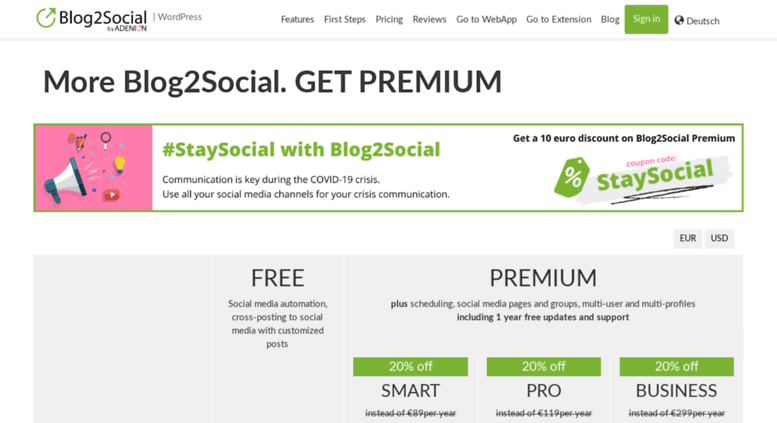
Price: Free and premium versions available | More Information
Auto-Post from WordPress to All Your Favorite Social Networks with Blog2Social (In 3 Steps)
With Blog2Social’s free plugin you can install, activate, and begin using it right away as you would any other plugin. However, if you purchase the premium version of the plugin, you’ll receive a license key via email that’s entered into the relevant field within the Blog2Social tab on your WordPress dashboard:

What’s more, you can include explicit labels and remarks for each system, which is constantly convenient. The module additionally empowers you to modify which pictures will show up close by your mutual substance, and even lets you re-share more established presents in the event that you need on exhibit a past ‘hit’, or fill holes in your schedule. In addition, there are no similarity issues with Divi, so you’ll be capable to implement it on your own site without stress.
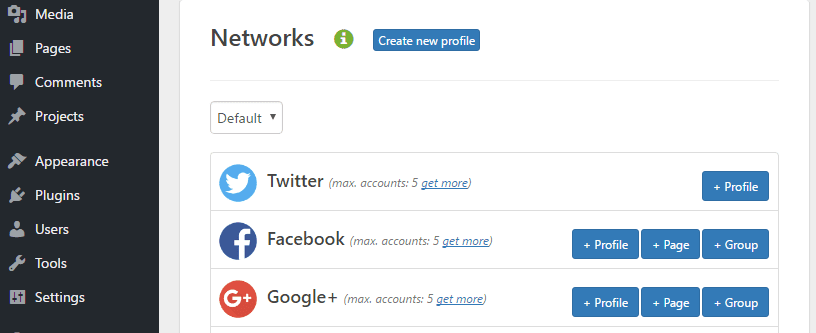
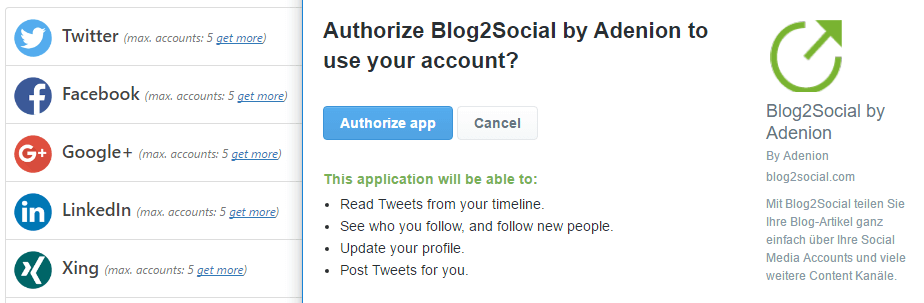
In most cases, all you need to do is click on the + Profile or + Page Button and authorize the application to access your account (as long as you’re already logged in):
Once you’ve added your social media accounts, the next step is to optimize your post’s delivery times.
Step #2: Specify Your Sharing Windows
Blog2Social empowers you to design sharing windows for every online networking stage, and it even gives you data on the best times to post content. It merits nothing that you can skip this progression on the off chance that you’d like to simply auto-present your substance via web-based networking media when it’s distributed. Then again, in the event that you’d prefer to hold more command over your planning, continue perusing!
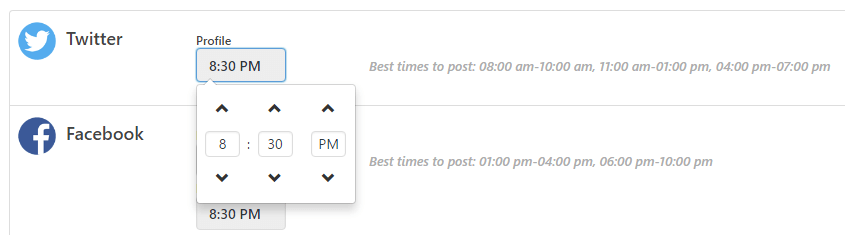
To begin, navigate to Blog2Social > Settings > Best Time Settings. You’ll discover a rundown of stages bolstered by the module, including those you haven’t connected to. Beside every one, you’ll discover some data about the ideal window you should share your substance in:
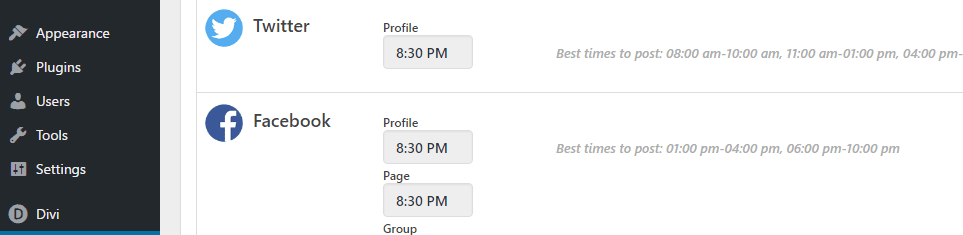
The plugin is configured to share your content on every platform at 8:30 pm by default, but you can change it if you wish:
At this point, make your way through the list and tweak the times for each platform you intend on using. The final step is to learn how to enable auto-posting.
Step #3: Set Your Content to Auto-Post
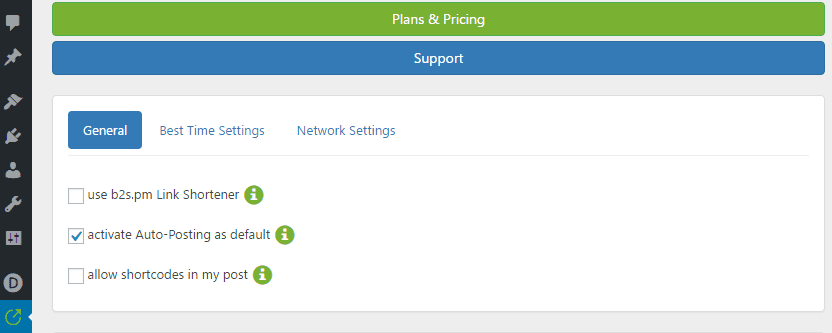
There are multiple ways to auto-posting your content. The first involves enabling auto-sharing globally, which means all of your posts will be sent to your linked social media accounts once they’re published. You can enable this by ticking the corresponding box under Blog2Social > Settings > General:
You can configure each posts’ sharing options while editing them too. After installing Blog2Social, a new Share on Social Media widget will appear next to the editor. From here you can enable immediate auto-posting for that particular piece, or set a scheduled time using the Schedule or share your social media posts option. This will default to the times you set during step number two, which should save you some time:
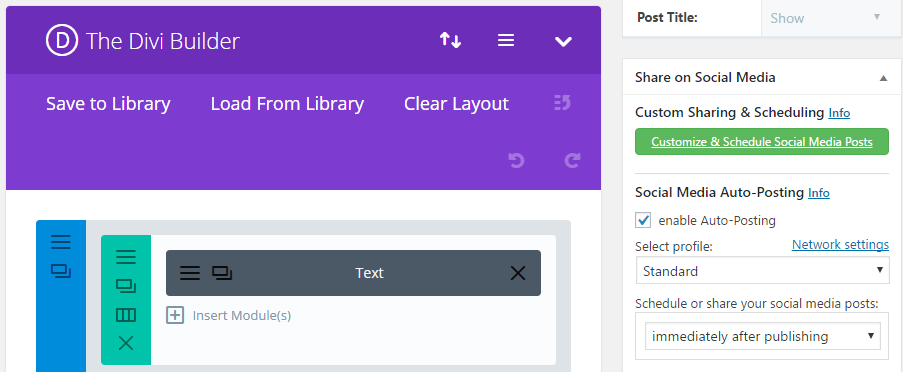
If you’d rather customize your content before sharing it, you can also click on the Customize & Schedule Social Media Posts button. This will bring up a new page where you can tweak how your content will appear on social media:
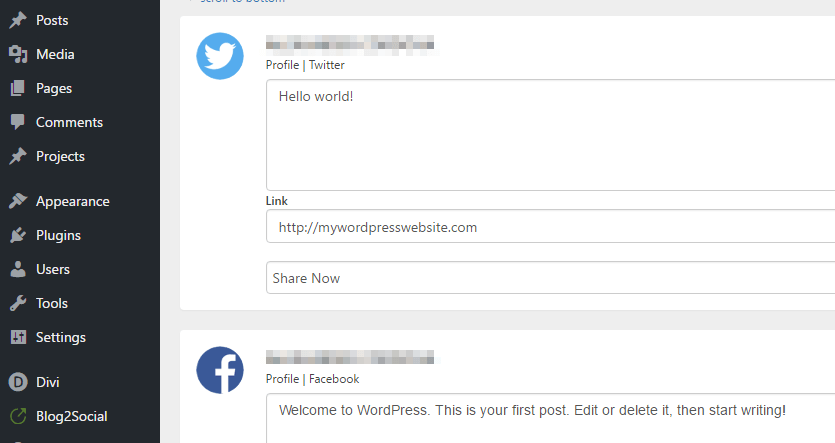
By default, Blog2Social will take excerpts from your posts and use those as descriptions within your social media accounts. The same goes for your images, unless you choose a different one, which you can do here. Simply scroll down to the bottom of the page, locate the Select Image option, then pick your favorite one:
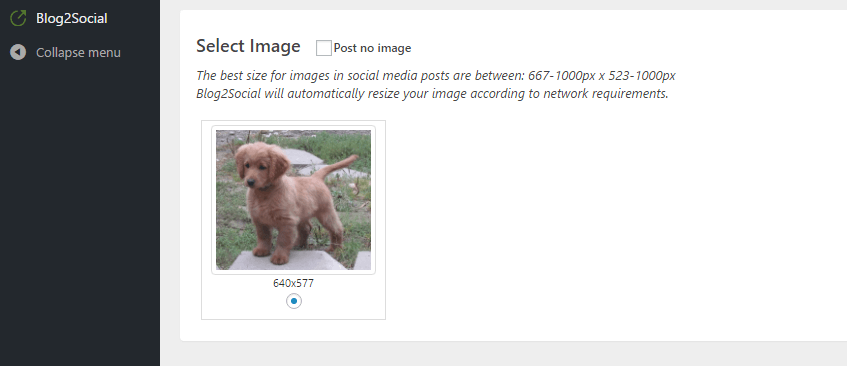
Normally, few out of every odd picture is going to show splendidly on every internet based life stage. Considering that, Blog2Social incorporates suggestions for ideal measurements, and deals with any fundamental resizing.
When you’ve completed, spare your changes, and you’ll be a great idea to go! Now, you can kick back and let Blog2Social do all of your heavy online networking lifting.
Product Categories:
Blog2Social WP | PRO | annual payment
Blog2Social WP | BUSINESS | annual payment
Blog2Social WP | SMART | annual payment
Blog2Social APP | PREMIUM | TEAM | CUSTOM 1 | monthly payment
Auto-presenting your WordPress content via web-based networking media is a straightforward task that can lastingly affect your webpage. Now is the right time devouring, yet you’ll access a more extensive client base for every stage you post in. You’ll likewise get the chance to draw in your clients in more ways (which is constantly an or more!).
In the wake of introducing and enacting the module, this is what you have to do to begin auto-posting your WordPress content using Blog2Social:
Do you think auto-presenting your substance via web-based networking media can get noteworthy measures of new traffic? Offer your considerations with us in the remarks area underneath!